
Taking care of your lawn can be demanding. It may seem exciting at first, but the regular watering and other responsibilities can become tedious. If not done properly, it can negatively impact your lawn. Indeed, a week of rain can turn it into small marsh, while extended dry spells can create a brown wasteland.
But you can reduce the day-to-day hassle of maintaining your lawn’s health by installing an underground sprinkler system.
So, are you looking for a reliable and experienced irrigation installation company in Brampton to put in your in-ground sprinkler system?
Because this is a long-term investment, it is always best to seek professional assistance. But, as many homeowners want to do it themselves, Brampton irrigation installation company Green Valley Irrigation offers this guide.
Let’s get started.
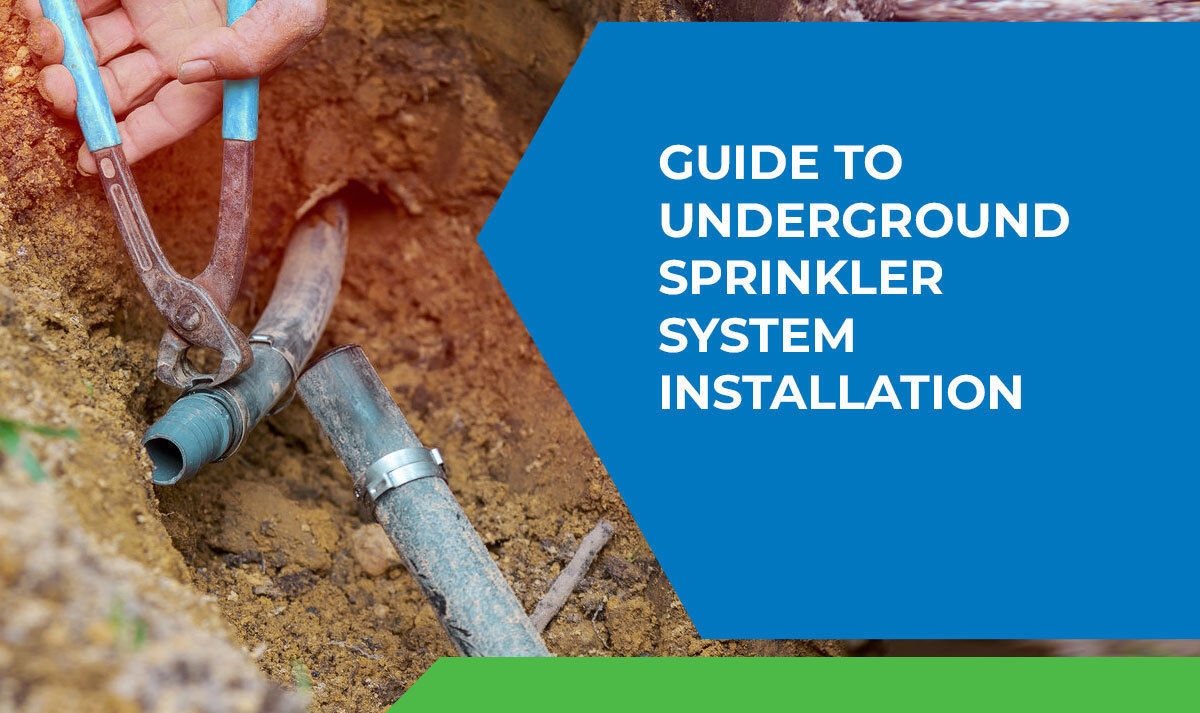
Guide to Underground Sprinkler System Installation
A beautiful lawn with green grass can increase your home’s curb appeal. Automatic sprinklers are the best way to maintain such a luxurious setting while minimizing your water usage. Let’s find out how to install it yourself.
- Check with Your Municipality
First, you must check with your municipality to see if there are any restrictions on residential-use sprinkler systems. That includes finding out if you can dig where you need to, researching local watering ordinances, and obtaining all the necessary permits.
- Prepare for Your Sprinkler System
When preparing for your sprinkler system, consider your grass and soil type. Sandy soil absorbs water more quickly than clay, but supplying more water than your soil can absorb will create runoff. However, an irrigation system will give you better control over your soil’s moisture content. This ensures better lawn growth.
If you face any difficulties, call Green Valley Irrigation’s experts to help ease your planning and preparation. They will determine the type of system you need and provide a map of the entire system, including its required components.
- Determine the Water Pressure, Water Meter Size and Flow Rate
To find the right components, here are a few elements to consider:
- Water pressure is measured in pounds per square inch (PSI). When taking the reading, make sure all indoor or outdoor faucets are turned off.
- Water meter size (if your source of water comes from a municipal system) or well pump size (if your water comes from a well). Generally, water meters are ⅝-inch, 3⁄4-inch, or 1 inch.
- Water service line size. Match the size of the irrigation pipe to your existing water service by determining the size of your incoming supply line.
- Water flow rate is measured in gallons per minute (GPM). Multiply the number you get by 60 to determine gallons per hour (GPH).
- To determine backflow prevention requirements, refer to local ordinances.
- Map the Sprinkler System
After completing your preliminary research, start mapping out the system. This can help you decide where exactly to place the underground sprinkler for a better spread of water. Most yards have a variety of elements you need to consider when creating your layout, such as:
- Shrubs or other foundation plantings
- Flower beds or mulched areas
- Abandoned trees
- Sidewalks and slopes
- Fences and other installed features
- Areas of sun and shade
To cover all these elements, you need to create more than one water zone. Zones are determined by the physical attributes of your landscape and the capacity of your water supply. Each zone has its own control valve, so create a map to establish a watering zone. Make sure to include the house and all permanent landscape features. Also, mark the location of the water meter on the map. If you have any sloping areas on your lawn, mark them as well.
Because the water pressure can be decreased if the elevation increases and gets higher as it decreases, affecting the amount of water delivered by the sprinkler, plan for 100% coverage. This will avoid any dry spots.
- Decide on Your Equipment
After you have made the layout, it’s time to shop for the essential parts. This includes sprinkler heads and risers, valve pumps, pipes, and a system control box.
Select sprinkler heads based on the coverage required. As mentioned, the number of zones, sprinkler head size and style will depend on the location of trees, shrubs, lawn, and sidewalks.
There are different types of underground sprinkler heads. The most popular is a pop-up head. This prevents damage from mowers, pets, and foot traffic by retracting the nozzle and riser below ground when not in use. The nozzle rises to dispense water after being turned on. For flower or shrub beds with minimal chance of damage, static or permanent sprinkler heads are ideal.
PEX (cross-linked polyethylene) and CPVC (chlorinated polyvinyl chloride) are typically used for piping main water lines. PVC is the most common irrigation material, but PEX is the best plumbing pipe for cold weather. This is because it is more resistant to freezing water and can expand and contract with temperature fluctuations between seasons.
- Dig the Trenches
Dig trenches for both the water lines and valve box according to your system layout. It’s best to contact a professional trencher to make the task easier and speedier. Create line trenches between six and eight inches deep, depending on your area’s freeze cycles and frost severity.
- Make the Water Connection
The next step is to make the water connection. For that, first, cut off the main water supply. Then splice into the water main using a T-joint.
If you are uncomfortable with this step, call in a professional plumber to tap into the main line for you.
- Install the Zone Valves
If the control box is the brain of an underground sprinkler system, the valve assembly is its heart.
To install the zone valves, first, dig a trench from the water line to the valve box. Then, dig a hole about 18 inches deep and 2 to 3 feet long. Set the valve box into it. The zone valves are then attached to the manifold using adhesive. Place the manifold in the valve box.
Then, run a 1-inch pipe from the main water line to a backflow-prevention device and connect it to the manifold. Create a short trench from the valve box to the timer’s location. In the trench, lay the 24-volt underground cable and attach it to the wires coming from each valve.
This assembly typically moves to a central location from where it directs water through the main line to those lines that extend into various zones of the yard. Place the manifold box into a hole that has been dug only deep enough to allow the valve to rest at ground level. Then, fill the hole with pea gravel.
- Connect the Water Lines
Once you have set a line from the water main to the manifold box, begin laying out valve lines to your various sprinkler heads. Where required, use T-joints to run a pipe from the trajectory of a valve line to the planned location of an individual sprinkler head. Connect every head to a line that reaches the manifold.
- Place the Control Box
Now place the control box into a sheltered area with an electrical outlet. Run the wire underground from the valve manifold to the control box. Each valve line has two wires attached to it: one for the common connection and the other for a connection particular to a zone.
- Final Stage
Finally, fill all the trenches and refill the holes dug for the sprinkler heads and valve manifold box. For the sprinkler heads’ pop-up mechanism to work, they must stick slightly out of the ground. Then, restart the water and do a system test cycle.
The majority of systems let you modify the range and pressure of each sprinkler head. Make the appropriate changes to make sure that your grass is evenly covered throughout.
Create a watering schedule for your yard using your control box’s programming. Then relax and enjoy your house’s lush, green lawn.
In-ground lawn sprinklers are great at providing a precise amount of water before automatically shutting off and dropping out of sight. Follow the above-mentioned steps to install your underground sprinkler irrigation system in Brampton. If you face any difficulties, contact Green Valley Irrigation.